How to Burn MP4, AVI, MOV, FLV to DVD with Nero Burning ROM 2015

"This is really a great post with useful tips. With the DVD burner and DVD creator for Mac introduced in the post, I can finally burn my files to DVD." more >>

"This is really a great post with useful tips. With the DVD burner and DVD creator for Mac introduced in the post, I can finally burn my files to DVD." more >>
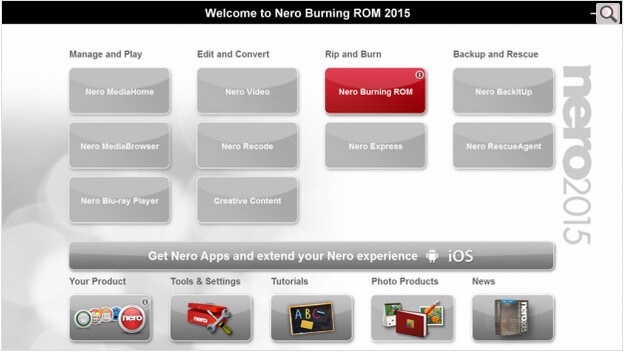
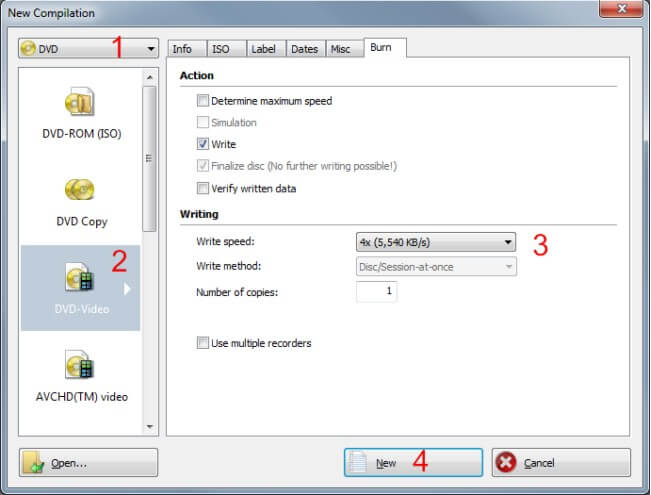
As a movie enthusiast I have got tons of videos on my computer and the number is still accumulating until one day I find there's litter memory left on my computer. So I decide to delete some and for the most precious ones, I'd like to burn them to DVDs so that I can keep them. In this post, I will share with you how I managed to burn videos to DVD with Nero Burning ROM 2015.

Preparations:

However, there's still one thing you should note: Nero DVD ROM is only designed for Windows users including Windows 8, Windows 7, Windows Vista and Windows XP. If you are running Mac, you need to find the DVD burning software for Mac. I've tried this tool on my MacBook Air and the burning went smoothly.